 Some time has passed since my review of the YEPO 737A (64GB version), and I was can tell today that this ultrabook is worth the addition of a SSD.
The next thing I needed was a SSD drive for a decent price and the Vaseky 128GB is just the perfect match.
 After 6 months of use, I decided to upgrade my trusty Yepo 737A as a reward for its good behavior.
It has performed better than I expected, giving no trouble at all, beside the logo that started peeling off and I don't mind the way it is now...
For 40€ (~47$), the Vaseky 128GB M.2 2242 SSD is a very affordable SSD drive.
This upgrade brings the total value of the 737A 64GB version to 231€ (191€+40€). Still cheaper than the other editions (~255€), and for a much faster storage!
Installation
The installation itself takes a minute:1. Power off the PC,
2. unscrew the small cover at the back, 3. slide the SSD with label up into the slot,
4. close the lid,
5. power up
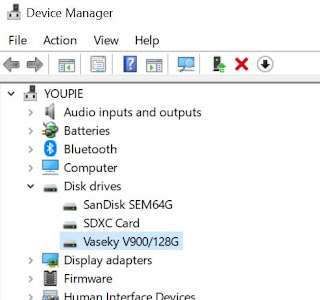
That's it, the drive is immediately detected and operational.
As it stands, that additional storage offers 3 immediate advantages:
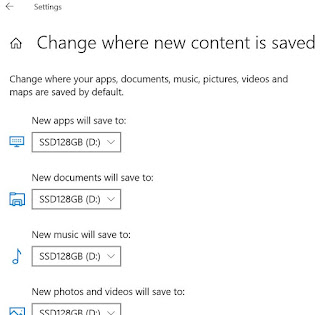
1. Obviously more space where the Windows 10 content can be relocated, leaving the eMMC drive for the OS.
2. The absence of that noise I noticed when playing back multimedia files from a MicroSD drive.
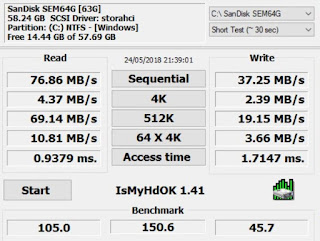
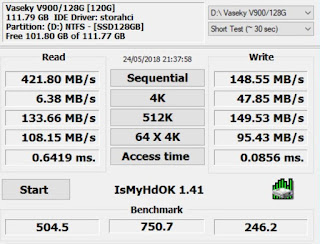
3. The speed! The results below from a short test done with the tool IsMyHdOK speak for themselves:
Making the SSD the new boot drive
Of course, it is a bit sad to use such a fast drive only as an extended storage, so what about cloning the eMMC to SSD and make it my boot drive?Cloning the eMMC drive to the new SSD is not difficult as such. The problem that most people face is that the eMMC keeps booting no matter how they change the boot order in the BIOS.
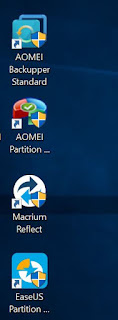
I got the same result with the AOMEI backupper and Partition Assistant I first tried.
The combination of tools that worked for me was Macrium Reflect to clone the drive, and EaseUS Partition Manager to resize the partitions (free versions used).
One of the factor for the success here is to start with an unformatted SSD drive
In terms of resizing, I just removed the recovery partition from the cloned content on the SSD so I could extend the Windows partition to the maximum of space available (less ~450MB if I want to clone the recovery afterwards).

The final step is to access the BIOS by pressing the ESC key repeatedly just after powering on the netbook and then set the Windows Boot Manager identified with (P0: Vaseky V900/128G) as the Boot Option #1.
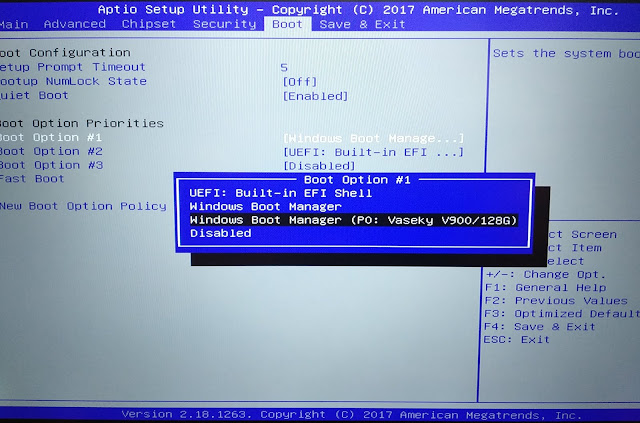
Upon restarting, the shorter cold boot time should give a hint that the SSD is now in charge. It should also have been automatically assigned to C:
It is still possible, at this stage, to boot from the eMMC drive if needed.
What you do with this drive is up to you now but I'd probably keep it intact for a while, until the SSD has proven reliable.


2 comments:
This laptop came easier than i expect....the real problem is that he don't function.... at the first boot. YEPO 737A
So after cloning disk with Macrium everything work with boot?
Post a Comment
Note: Only a member of this blog may post a comment.